The Sourdough Starter Feeding Schedule: Important Timelines Explained
Are you on a quest to master the art of homemade sourdough? Journeying through the world of sourdough starter might seem intimidating at first, yet understanding the feeding schedule can transform your sourdough baking venture into a captivating endeavor. In this post, we dive deep into understanding the sourdough starter feeding schedule, complete with essential sourdough baking tips.
Visit Our Website for More Baking Insights
Understanding the Sourdough Starter
At the heart of every successful sourdough bread recipe lies the sourdough starter. This living, breathing organism is a mixture of flour and water that has captured wild yeast and lactic acid bacteria from the environment. The magic of sourdough fermentation relies heavily on these microorganisms working their wonders over time.
The Benefits of Sourdough Fermentation
Sourdough fermentation holds numerous benefits over conventional bread doughs made with commercial yeast. The sloooooow fermentation not only develops complex flavors but also enhances digestibility and nutrient absorption. For those interested in health-centric baking, sourdough is a boon, especially as there's growing interest in sourdough for diabetics due to its positive influence on blood sugar levels.
Sourdough Starter vs Yeast
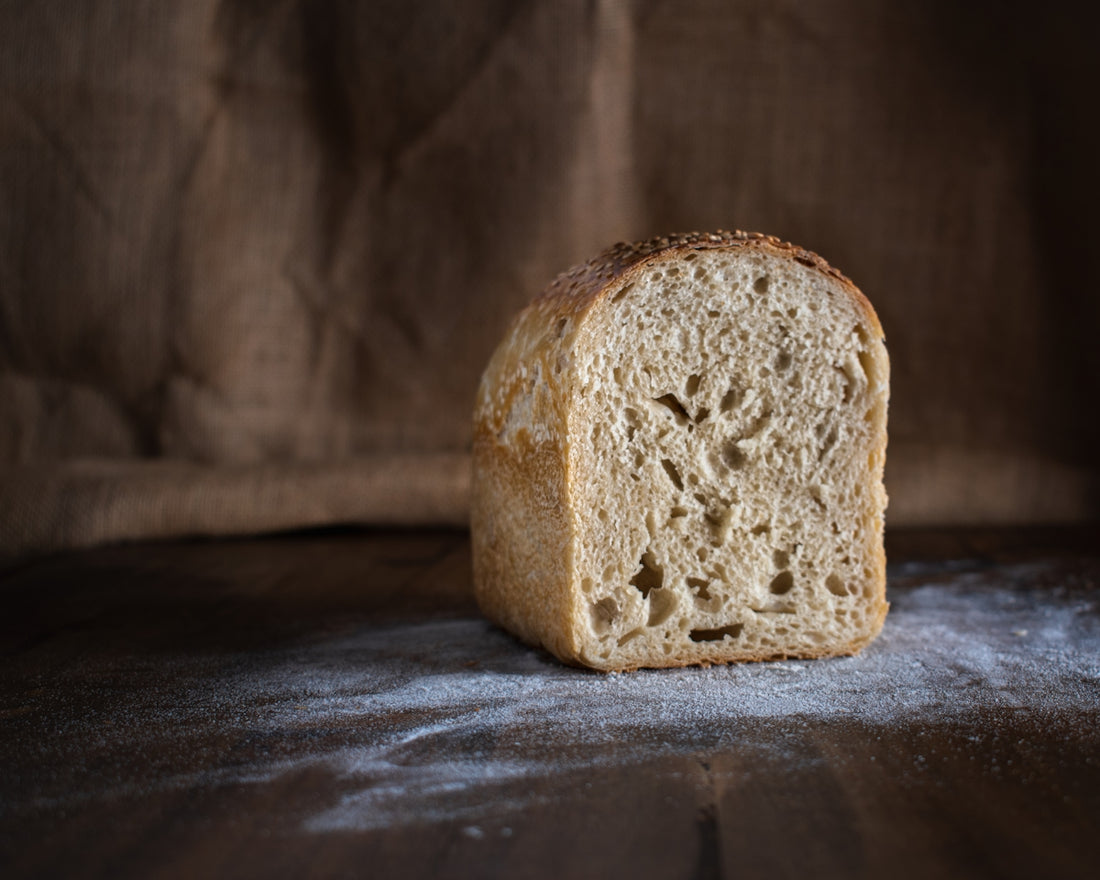
The primary difference between sourdough starter and commercial yeast lies in the fermentation timeline. Sourdough fermentation is a lengthier process, needing a strategic sourdough starter feeding schedule for optimal activity. This schedule is the key to maintaining your starter's vitality and ensuring your homemade sourdough results in delightful loaves with a crispy sourdough crust.
How to Feed Your Sourdough Starter
Just as feeding plays a crucial role in wild yeast fermentation, a proper schedule can make or break your sourdough experience.
Daily Feeding Schedule
- Time and Environment:Feed your sourdough starter daily if you're baking often. Keep it at room temperature, ideally between 70-75°F.
- Ratios:A common feeding ratio is 1:1:1 (starter:water:flour by weight). Adjust the quantity according to your baking frequency.
Weekly Feeding for Infrequent Baking
When baking less frequently, you can store your sourdough starter in the refrigerator. If your timeline allows only periodic baking, feed your starter weekly to keep it robust.
- Remove: Take out from the fridge and let it come to room temperature.
- Feed: Apply a 1:1:1 ratio, let it rise for a few hours, and return it to the fridge.
Organic Sourdough Starter Maintenance
Those using organic sourdough starter need to be a bit more vigilant, as organic ingredients can hasten fermentation. Monitor closely and adjust the feeding schedule as needed.
Sourdough Starter Troubleshooting
Even with the best intentions, sourdough starter challenges can crop up.
- Unresponsive Starter: Is your starter not bubbling after feeding? Consider environmental factors—lower temperatures slow down activity. Warming it might help.
- Excessive Sourness: Shorten the feeding interval, possibly shifting to twice daily for extremely active starters.
How to Store Sourdough Starter
Besides feeding, proper storage is vital.
- Short-term Storage: Fridge storage works well for short-term breaks, feeding weekly as mentioned above.
- Long-term Storage: For breaks longer than a month, dry a portion of your starter. Revive it when ready by rehydrating and feeding over a few days.
Is Sourdough Starter with a Long Legacy Better?
Absolutely! Starters passed down through generations tend to possess incredibly robust and diverse microbial populations, enriching the complexity of flavors.
Essential Sourdough Baking Tips
While understanding the starter is fundamental, baking technique and tools play an equally supportive role.
How to Bake Sourdough Bread
With a lively starter ready and risen dough, it's finally baking time:
- Shaping:Carefully shape your dough—practice makes perfect, so don't be disheartened if your first tries are imperfect.
- Proofing:Leverage tools like a Lame Bread Proofing Basket Kit, designed to support dough during final rise stages.
- Baking:Place on a hot surface such as the Nonna Bella Carbon Steel Bread & Loaf Pans to achieve nice oven spring.
Best Sourdough Scoring Techniques
Effective scoring allows gases to escape, preventing undesirable cracking. Mastery over scoring comes through tools like a sharp razor or dedicated scoring tools.
Sourdough Bread Troubleshooting
- Dense Loaves: Indicates under-developed gluten—extend kneading time.
- Over-proofing: If you've left dough too long, it's not wasted; use it creatively in sourdough discard recipes such as pancakes or pizza dough.
Artisan Bread Baking Beyond Basics
Sourdough vs Regular Bread
Sourdough's unique texture, flavor, and health benefits distinguish it from regular bread. Meanwhile, Italian sourdough bread, renowned for its tang, offers another delightful dimension to explore.
Sourdough Bagels and Pizza
Elevate your sourdough artistry by crafting distinct creations like sourdough pizza dough. With the Nonna’s Pizza Dough Docker, ensure an even crust for your sourdough pizzas.
What Tools Do I Need To Make Sourdough Bread?
Embark on your journey with the right tools for support:
- 24 Oz Sourdough Starter Jar:Consider the 1set Professional Baking Tools, offering a comprehensive DIY kit.
- Reusable Bread Sling:When using a Dutch oven, a Reusable Silicone Bread Sling facilitates easy transfer and reduces risk of burns.
Learn to maintain, visualize, and perfect the art of sourdough, nurturing your starter and thereby unfolding creative avenues in your sourdough life. Not only will you witness your baking skills flourish, but you will also relish the wholesome delight of sourdough in your daily nourishment.
Continue your discovery and exploration at Italian Sourdough.