Sourdough Starter Feeding: A Daily Guide to Maintain Vitality
The art of sourdough baking is a joy like no other. Whether you're a seasoned artisan bread baker or someone new to the world of wild yeast fermentation, maintaining a healthy sourdough starter is essential for creating bread with that perfect tang, crumb, and crust. This guide will walk you through everything you need to know about sourdough starter feeding and maintenance, ensuring that you keep your homemade sourdough thriving.
Why Feed Your Sourdough Starter?
A sourdough starter is a living culture comprised of flour and water, hosting a community of wild yeast and lactic acid bacteria. Feeding your sourdough starter regularly is crucial to maintaining its vitality and achieving optimal sourdough fermentation. This process supplies the yeast and bacteria with the necessary nutrients to continue thriving, allowing you to create diverse and delicious sourdough bread recipes.
The Daily Feeding Schedule
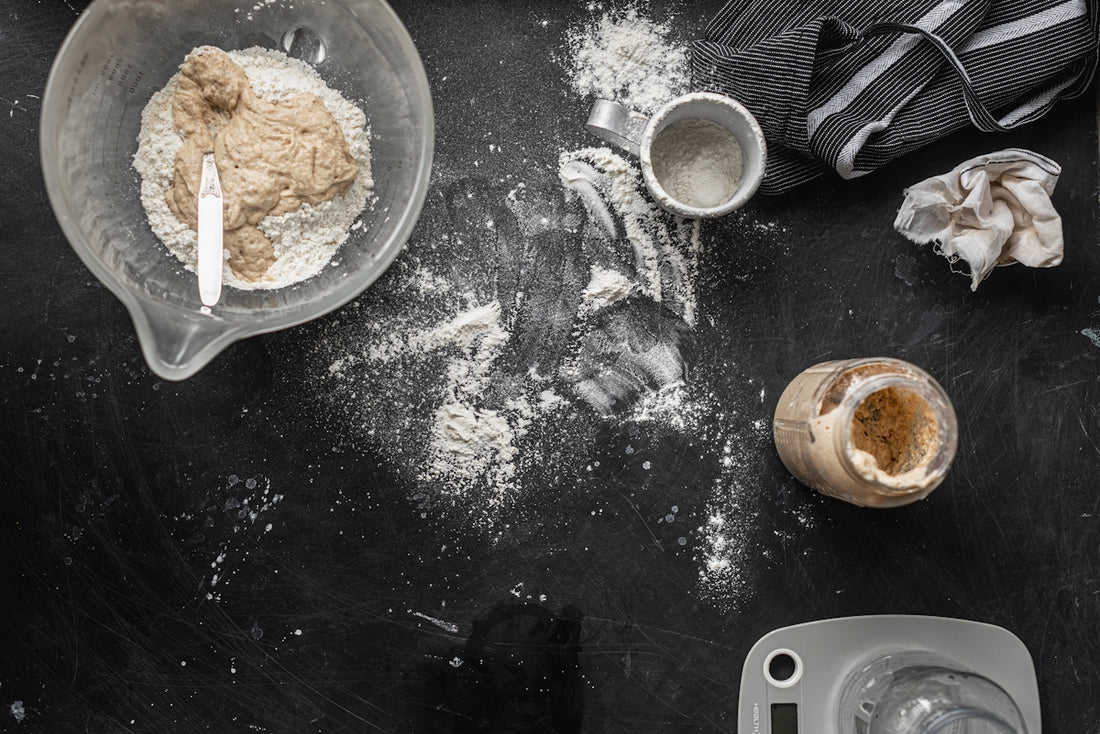
To maintain a robust sourdough starter, consistency is key. Here's a basic daily feeding schedule:
- Discard: Start by removing roughly half of your starter. This prevents your starter from becoming too acidic and allows room for fresh nutrients.
- Feed: Add equal parts by weight of water and flour to your remaining starter. For instance, if you remove 100g of starter, replace it with 50g of flour and 50g of water.
- Mix: Stir the mixture until well-combined, and cover the container loosely. For effective feeding, consider using the Professional Baking Tools 24 Oz Sourdough Starter Jar, which is perfect for home sourdough bakers.
How to Feed Sourdough Starter
Feeding a sourdough starter isn't merely an act of pouring in ingredients. Here are some sourdough baking tips to make the process smoother:
- Temperature: Store your sourdough starter at room temperature or in the fridge. If baking every day, room temperature is fine; for weekly, refrigeration is best.
- Water: Use filtered or spring water to avoid chlorine, which can inhibit yeast activity.
- Flour: Organic flour is ideal as it contains higher microbial and nutrient content, aiding in the development of a robust starter.
Storing Your Sourdough Starter
Understanding how to store sourdough starter depends on how frequently you bake. For regular use, keep it on the counter. For longer storage, refrigerate the starter in an airtight container and feed it once a week.
Troubleshooting Sourdough Starters
- Inactive Starter: If your starter isn't doubling in size, try adjusting the feeding ratio or temperature. Also, consider transferring it to a warmer spot in your kitchen.
- Liquid Layer (Hooch): This is a sign your starter is hungry. Pour off the hooch and feed your starter more frequently.
Sourdough starter troubleshooting is a part of every baker’s journey, and with time, you’ll learn to interpret the signs your starter gives you.
Sourdough Starter vs. Commercial Yeast
Sourdough starter differs significantly from commercial yeast. While both leaven bread, wild yeast fermentation in sourdough offers singular flavors and benefits of sourdough fermentation, such as aiding digestion and potentially lowering blood sugar levels, making sourdough suitable for diabetics. The question of sourdough vs regular bread often comes down to personal preference and dietary needs.
The Heritage of Sourdough
An organic sourdough starter with a long legacy could provide complex flavors unique to its region. For those interested in history, try the Nonna Bella Dehydrated Sourdough Starter – 10g Tuscan Heritage Culture, which offers a slice of old-world craftsmanship in every loaf.
Caring For and Using Sourdough Discard
Your journey into My sourdough life needn't involve waste. However, sourdough discard recipes allow for creativity. Use the discard in pancakes, waffles, crackers, or even pizza dough with Nonna’s Wooden Pizza Board – Rustic Pine for an authentic Italian experience.
Baking the Perfect Sourdough Bread
- Mix & Autolyse: Combine your refreshed starter with flour and water, letting it rest to enhance gluten development.
- Kneading: Use folding rather than kneading, which strengthens the dough without overworking it.
- Proofing: Allow for a long, slow rise to develop flavor.
For those experimenting with sourdough pizza dough or sourdough bagels, tools like the Professional Baking Tools Sourdough Kit make the process easier.
Achieving Sourdough Perfection
- Shaping: Improving how to shape sourdough bread comes with practice. Be gentle yet firm so that the dough retains its form.
- Scoring: Use the best sourdough scoring techniques for artistic flair and optimal oven spring.
- Baking: For a crispy sourdough crust, maintain steam in the initial baking phase.
Experiment with different techniques and ingredients, and consider using tools like the Non Stick Silicone Baking Mat for non-stick baking.
Sourdough Bread Troubleshooting
Every baker experiences challenges. Whether it’s flat bread or an overly dense crumb, refining how to get a crispy sourdough crust and using the right techniques will help. Remember that patience and practice redefine how to bake sourdough bread more successfully each time.
For all your sourdough-related needs, explore Italian Sourdough for premium tools and products that will elevate your sourdough baking experience.
In conclusion, maintaining a healthy sourdough starter is an ongoing process that rewards you with endless possibilities in sourdough creations. May your artisan sourdough baking journey be as fulfilling as your freshly baked loaves are gratifying.