How to Shape Sourdough Bread: Tips for Perfect Artisan Loaves
If you've ever ventured into the world of homemade sourdough, you know that each step in the process can have a huge impact on your final product. Among all the stages, shaping your sourdough loaf is an art that many aspiring bakers find both exciting and challenging. Mastering how to shape sourdough bread can elevate your baking to new heights, ensuring you achieve that crusty, airy, and delicious loaf that defines artisan bread baking.
As we guide you through this intricate process, we'll also touch on several key aspects of sourdough preparation, such as working with a sourdough starter, managing wild yeast fermentation, and more. Let's dive into the world of dough shaping while exploring some tried-and-true sourdough baking tips.
Understanding the Sourdough Starter
Before you can shape sourdough, you'll need a robust sourdough starter. A well-maintained starter is crucial as it serves as the leavening agent, or the natural source of yeast, for your bread. Here are some basics:
- Feeding the Sourdough Starter: This involves regular feeding with equal parts of flour and water. The schedule usually depends on your routine and the ambient temperature.
- Sourdough Starter Feeding Schedule: For best results, feed your starter every 12-24 hours, depending on its activity level and the temperature of your environment.
- How to Store Sourdough Starter: You can store your starter in the refrigerator if you aren't baking frequently, then bring it to room temperature and feed it a couple of times before using.
For more detailed starter tips, visit our Sourdough Starter Kit, which includes everything you need to get started.
From Fermentation to Shaping
The Role of Fermentation
Fermentation is where magic happens through the action of wild yeast and beneficial bacteria. Sourdough fermentation not only gives bread its signature tang but also helps develop its texture and digestibility—making it potentially beneficial for diabetics due to its lower glycemic index compared to regular bread.
At the End of Fermentation
To achieve the perfect sourdough loaf, timing is key. The dough should be well-developed, able to hold its shape, but still pliable enough to stretch without tearing. Here are some characteristics to look for:
- Elasticity: The dough should feel strong and stretchy.
- Bubbling: A sign of a well-fermented dough is the sight of small bubbles throughout.
- Rise: Ideally, it should have doubled in size.
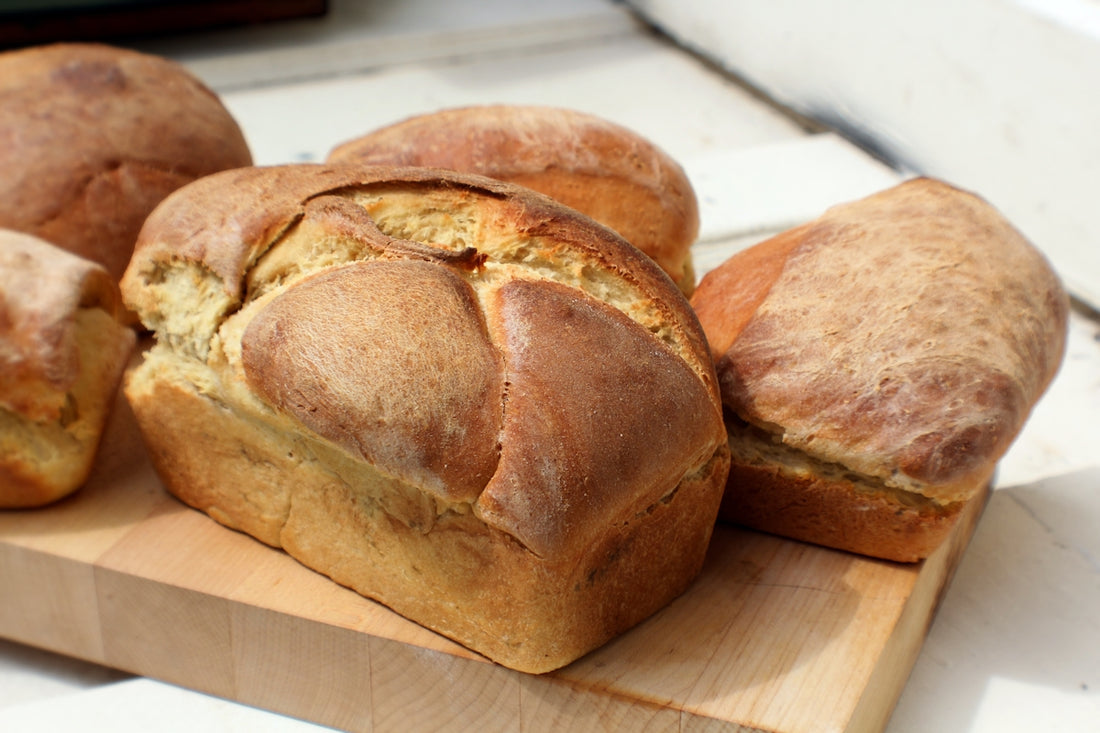
Mastering the Art of Shaping
Once your dough has risen adequately, it's time for shaping— a process that helps structure your loaf for its final form. Here’s how to shape sourdough bread for that perfect crust and crumb:
Step-by-Step Guide to Shaping
1. Pre-Shape
- Turn Out the Dough: Gently tip your dough out onto a lightly floured surface.
- Round the Dough: Use a bench scraper to fold the edges into the center, creating tension across the top of the dough ball.
2. Rest
Allow the dough to rest for 20-30 minutes. This helps relax the gluten and prepare it for final shaping.
3. Final Shape
- Light Dusting: Dust your work surface lightly to avoid sticking.
- Shaping Technique: For a basic boule, cup your hands around the dough and use a gentle pulling and rotating motion to tighten its surface.
- Texture: Your dough should be smooth on top and slightly tacky to touch.
For a more precise method, using a digital kitchen scale like Nonna Bella 5kg Digital Kitchen Scale can ensure consistency in loaf size.
Tips for Improved Shaping
- Proper Hydration: High-hydration doughs can be tricky to handle but offer a more open crumb.
- Tool Selection: A reliable bench scraper will be your best friend during shaping.
Best Practices for Baking and Beyond
Scoring Techniques
The art of sourdough scoring not only serves aesthetic purposes but also aids in controlling the expansion of your loaf during baking. Use a sharp razor or scoring tool to make swift, clean cuts on the dough surface.
Achieving a Crispy Crust
For a perfectly crisp sourdough crust, consider baking your loaf in an enameled Dutch oven like the Martha Stewart 7Qt Enameled Cast Iron Dutch Oven. This traps steam, creating the elusive glossy and crisp crust.
Sourdough Troubleshooting
Even seasoned bakers encounter issues. Here are common problems and solutions:
- Over-proofed Dough: Loaf lacks oven spring? Retard fermentation in a cooler place next time.
- Flat Loafs: Increase shaping tension to help the loaf rise upward rather than outward.
For additional troubleshooting tips and comparisons, explore the use of sourdough starter vs yeast.
Sourdough Variations and Maintenance
Sourdough Discard Recipes
Don’t let sourdough discard go to waste! Incorporate it into recipes like pancakes or even bagels for extra flavor.
Sourdough Pizza Dough and More
Extend your sourdough prowess to pizza with a Wooden Pizza Board or a 12Inch Ceramic Pizza Stone for perfect pies.
The Sourdough Journey
Shaping sourdough is an art honed over time. The beauty of My sourdough life lies in continuous learning, experimenting with different techniques, and savoring the beauty of each creation. Whether you're aiming for your first successful boule or exploring the realm of Italian sourdough bread, each bake brings its own reward.
For further guidance, recipes, and product recommendations, head over to ItalianSourdough.com.
Happy baking!