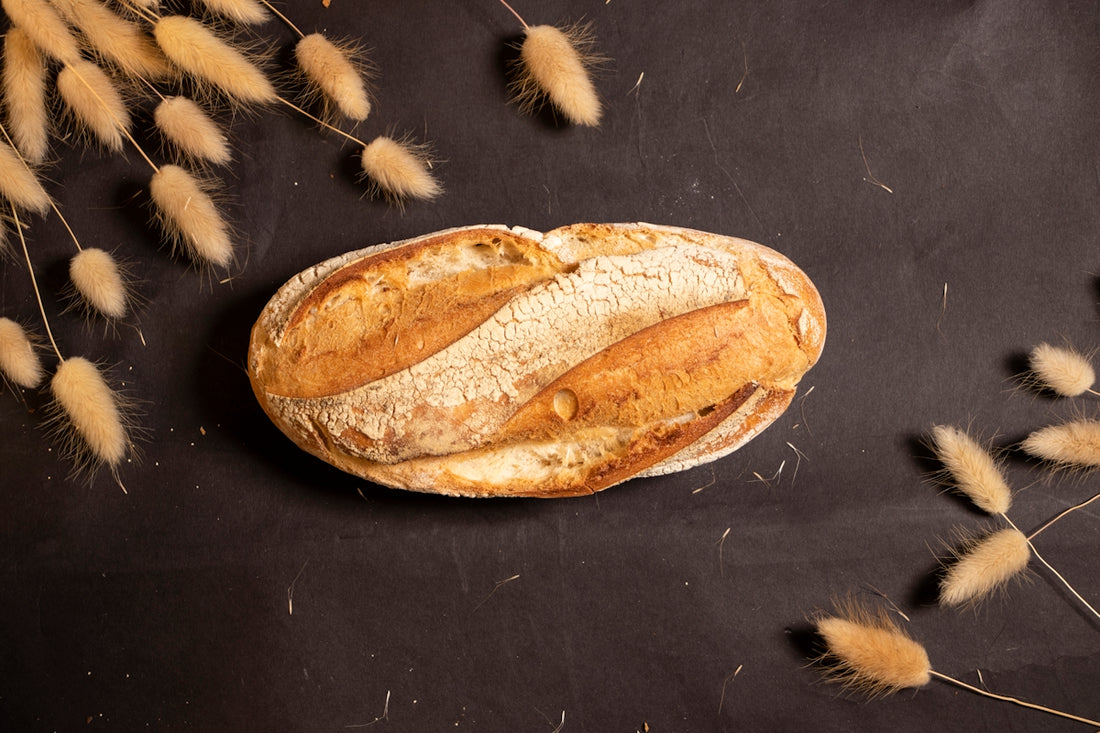
How to Shape Sourdough Bread: A Step-by-Step Process
The mystical art of shaping sourdough bread is not only about achieving aesthetically pleasing loaves but also about developing the structure and crumb we all desire. Whether you're embarking on your own "My sourdough life" journey or simply exploring the world of artisan bread baking, mastering the nuances of shaping your dough is paramount. Let’s delve into a comprehensive, step-by-step guide tailored to help you create perfectly shaped sourdough loaves every time.
Understanding the Basics of Sourdough Shaping
Before diving into shaping, it's essential to understand the nature of sourdough baking. At its core, sourdough bread relies on a sourdough starter—a naturally fermented mixture of flour and water teeming with wild yeast fermentation. The active culture results in the characteristic tangy flavor and chewy texture of sourdough bread. Understanding how to feed a sourdough starter, maintain a sourdough starter feeding schedule, and knowing how to store sourdough starter are crucial before shaping the dough.
Explore our selection of bread and loaf pans perfect for your sourdough baking needs.
Essential Tools for Shaping Sourdough Bread
Equipping your kitchen with the proper tools can make shaping your sourdough loaves a satisfying experience. Consider investing in:
- Lame Bread Proofing Basket Kit: Essential for creating the perfect surface tension on your dough.
- 650ml Sourdough Starter Jar with Thermometer Kit: Helps you keep your starter active and thriving.
- Dough Scrapers: Ideal for working with sticky dough without tearing it.
- Dough Whisk: Useful for mixing your dough without overworking it.
Explore these options here.
A Step-by-Step Shaping Guide
Step 1: Initial Mixing and Fermentation
Combine your sourdough starter with flour, water, and salt following your favorite sourdough bread recipe. Allow the dough to undergo bulk fermentation until it has visibly expanded and feels airy—this process is known as sourdough fermentation.
Step 2: Preparing for Pre-Shape
Once bulk fermentation is complete, transfer the dough onto a lightly floured surface. Use a bench scraper to gently release the sticky dough from the bowl, being careful not to de-gas the air bubbles formed during fermentation. This step is essential for easy sourdough bread shaping.
Step 3: Pre-Shaping the Dough
Lightly dust the dough with flour, then use your dough scraper to shape the dough into a loose round. This pre-shape step helps to organize the dough’s gluten network and makes the final shaping easier.
Step 4: Resting the Dough
Let the pre-shaped dough rest covered for about 20–30 minutes. This resting phase, often referred to as the "bench rest," allows the gluten to relax, making the dough easier to handle and shape.
Step 5: Final Shaping Techniques
Now that the dough has rested, it's time for the final shaping. The method you choose may depend on personal preference and the type of loaf you want to create (boule, batard, or baguette are common shapes).
Boule (Round Loaf) Technique
- Degassing: Gently pat down the dough to remove any large air bubbles.
- Folding: Fold the edges towards the center, similar to an envelope.
- Creating Tension: Use your bench scraper to drag the dough towards you, creating surface tension, rotating the dough as you do so.
Batard (Oval Loaf) Technique
- Degassing: Lightly deflate the dough.
- Shaping: Fold the left and right sides to the center, then roll the dough from the top to form a log shape.
- Sealing: Pinch the seam to seal, optimizing tension and loaf rise.
Step 6: Proofing
Place the shaped dough into a proofing basket, seam side up. This further develops flavor and structure. You can use a perfectly sized proofing basket set for this step.
Step 7: Scoring and Baking
Once proofed, carefully transfer the shaped dough onto a baking surface or into a Dutch oven for baking. Use a lame to score the surface with your preferred sourdough scoring technique, allowing for controlled expansion during baking. Bake according to your sourdough bread recipe for a golden crust and tender crumb.
Troubleshooting Sourdough Shaping
Shaping sourdough can be challenging, but don't worry. Here are a few sourdough bread troubleshooting tips:
- Dough Too Sticky: Ensure hands and surface are lightly floured, and use a dough scraper to handle the dough more easily.
- Loaf Not Holding Shape: This may signal over-proofing or inadequate gluten development.
- Flat Loaf: Consider reviewing how to feed sourdough starter and its maintenance schedule; an active starter is key to well-shaped loaves.
Shaping the perfect loaf might take time and practice, but with perseverance and the right guidance, like this detailed shaping tutorial, you'll master the art of how to shape sourdough bread. As you gain confidence, you'll delight in the homemade sourdough process and the captivating results. Visit our site for more inspiring sourdough baking tips and products to enhance your homemade sourdough journey.
