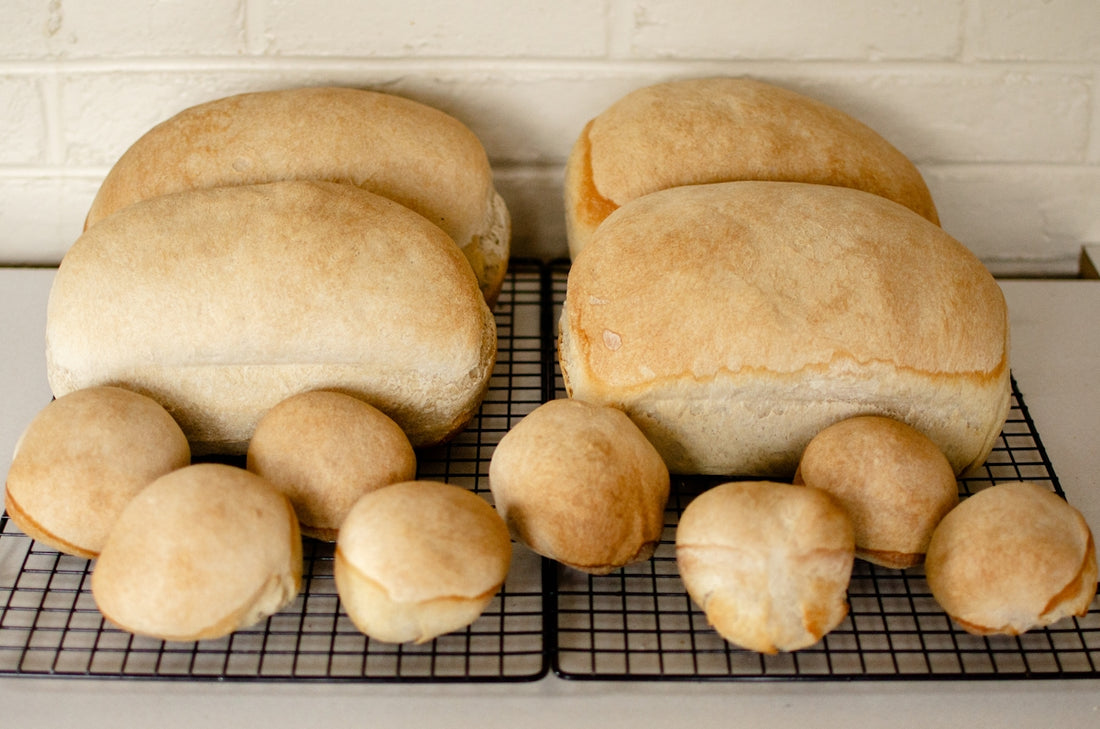
Homemade Sourdough Bread: Crafting the Perfect Recipe Every Time
Welcome to the wonderful world of sourdough baking! For both novices and seasoned bakers, the journey of mastering homemade sourdough bread can be a fulfilling and dynamic experience. This post is designed to guide you on this delightful voyage, offering tips, techniques, and understanding of sourdough that will help you craft the perfect loaf every time.
Understanding Sourdough
Sourdough bread is unique due to its distinct flavor and texture, which results from the process of wild yeast fermentation. Unlike traditional breads that rely on commercial yeast, sourdough uses a culture known as a sourdough starter. This mixture of flour and water captures and cultivates wild yeast and lactobacilli, creating the leavening needed to make the bread rise.
Sourdough Starter: The Heart of Artisan Bread Baking
The sourdough starter is the foundation of any great sourdough loaf. Understanding how to feed sourdough starter properly is crucial to maintaining its vitality. Regular feeding ensures that the yeast and bacteria have enough nutrients to thrive. Typically, a sourdough starter feeding schedule involves discarding a portion of the starter and replenishing it with equal parts water and flour once every 24 hours.
For those looking to perfect their feeding routine, consider using a 650ml Sourdough Starter Jar with Thermometer Kit. This kit is essential for monitoring the temperature of your starter, a crucial factor in its fermentation success.
How to Store Sourdough Starter
If you’re not planning on baking daily, knowing how to store your sourdough starter is essential. Store it in the refrigerator, where it requires feeding only once a week. This makes the process less demanding while ensuring your starter remains healthy and ready for use when needed.
Crafting the Perfect Sourdough Bread Recipe
Creating the perfect homemade sourdough loaf involves patience and practice. Here is a simple yet effective sourdough bread recipe to get you started:
Ingredients:
- 100g active sourdough starter
- 375g warm water
- 500g bread flour
- 10g salt
Instructions:
- Mix Ingredients: In a large bowl, combine the sourdough starter and water. Gradually mix in the flour and salt until a rough dough forms.
- Autolyse: Cover and let the dough rest for 30 minutes. This allows the flour to fully absorb the water and begin gluten formation.
- Stretch and Fold: Over the next 4 hours, perform four sets of stretch and folds, one every 30 minutes. This helps strengthen the dough.
- Bulk Fermentation: Let the dough ferment at room temperature until it doubles in size. This can take 4-8 hours, depending on room temperature.
- Shape the Dough: Once doubled, gently deflate and shape the dough. How to shape sourdough bread is an art, and mastering it will greatly improve your bread's structure and rise.
- Proofing: Place the shaped dough in a proofing basket and let it rise again until slightly puffy. A Lame Bread Proofing Basket Kit can help achieve an even proof.
- Score and Bake: Preheat your oven to 230°C (450°F). Score the dough to allow steam to escape using the best sourdough scoring techniques, which will also create beautiful patterns on your crust.
- Bake: Place in the oven and bake for 20 minutes, then reduce the temperature to 200°C (400°F) and bake for another 25 minutes. A Martha Stewart 4Qt Enameled Cast Iron Dutch Oven can help achieve a great crust.
Sourdough Baking Tips and Troubleshooting
- Temperature: Temperature management is crucial as it can drastically affect fermentation speed.
- Hydration: Adjust water levels based on flour type and climate for correct dough consistency.
- Troubleshooting Common Issues: If your dough is too sticky or lacks structure, consider adjusting your flour type or kneading technique. Our Professional Baking Tools Kit includes tools that are particularly useful for dough handling.
Sourdough Starter vs Yeast: A Comparative Insight
Sourdough fermentation is a slower process compared to commercial yeast, offering richer flavors and improved digestibility. This is especially beneficial for people with certain dietary restrictions, like diabetics, as it has a lower glycemic index.
Conclusion
Embarking on your sourdough journey involves understanding sourdough starter feeding and maintenance, the nuances of fermentation, and the manual techniques of shaping and scoring loaves. With practice, you'll soon master how to bake sourdough bread with confidence. For all your sourdough baking needs, explore Italian Sourdough for high-quality baking tools and accessories.
Happy baking, and enjoy 'My Sourdough Life' filled with the gratifying aroma of freshly baked bread!
