Exploring Homemade Sourdough: From Starter to Artisan Bread Baking
Welcome to our deep dive into the world of homemade sourdough, a journey that takes us from creating a lively sourdough starter to crafting exquisite artisan sourdough bread. This guide aims to unravel the magical process of sourdough fermentation and offer insight into the art and science behind it. Whether you're a beginner or an experienced baker, this post promises valuable tips and a new appreciation for the world of fermentation.
Let’s embark on this exciting sourdough adventure together!
The Sourdough Starter: The Heart of Your Bread
The journey of homemade sourdough begins with the ever-important sourdough starter. This living culture is composed of wild yeast and bacteria that naturally occur in flour and in the environment. It plays a crucial role in the flavor, texture, and leavening of sourdough bread.
Creating Your Sourdough Starter
To start your sourdough journey, you need a reliable sourdough starter, which can simply be prepared using flour and water. Here’s a simple recipe to get started:
- Day 1: In a clean jar, mix 100g of whole wheat flour with 100g of water. Stir until homogeneous. Cover with a breathable fabric and let it sit at room temperature for 24 hours.
- Day 2: Check for any bubbles or a slight sour smell, signs of fermentation. If it’s there, discard half and feed with 100g of all-purpose flour and 100g of water. Repeat for the next few days.
- Days 3-7: Continue the process of discarding half and feeding daily. Your sourdough starter should be bubbly and have a pleasing aroma by Day 7.
The Feeding Schedule
Knowing how to feed sourdough starter is essential:
- Everyday Use: Feed daily at room temperature; this keeps it active for frequent baking.
- Occasional Use: Store in the refrigerator and feed once a week.
Need tools to measure out your feedings accurately? The Nonna Bella 5kg Digital Kitchen Scale with LED Display ensures precision.
Find more details about sourdough starter feeding and maintenance here.
Storing Your Sourdough Starter
You can store your starter in the fridge if you’re not baking every day. Make sure to refresh it at least once a week. Before you bake, take it out of the fridge, feed it, and allow it to reach room temperature.
Sourdough Bread Recipe: Turning Starter into Loaf
With a lively starter at hand, you’re ready to craft your own loaf of bread. Here’s an easy sourdough bread recipe:
Ingredients
- 500g of bread flour
- 350g water
- 100g active sourdough starter
- 10g salt
Steps
- Mixing and Autolyse: Combine flour and water. Let it rest (autolyse) for about 30 minutes. This allows the flour to fully hydrate and gluten to develop.
- Adding Starter and Salt: Add the sourdough starter and salt. Mix well until incorporated.
- Bulk Fermentation: Let the dough ferment for 4-5 hours, performing 4 sets of stretch and folds every 30 minutes in the first two hours. This strengthens gluten structures.
- Pre-shape the Dough: Lightly shape the dough and let it rest for 20 minutes.
- Final Shape and Proof: Shape the dough into a tight ball. Place in a proofing basket and let it proof, either at room temperature for 2-3 hours or in the fridge overnight.
- Bake: Preheat your oven with a Martha Stewart 7Qt Enameled Cast Iron Dutch Oven. Carefully place your dough inside and score the top. Bake at 230°C (450°F) for 20 minutes with the lid on, then another 25 minutes with the lid off.
Sourdough Baking Tips
- Use a Nonna’s Wooden Pizza Board - Rustic Pine, 10 or 12 Inch for transferring your dough easily.
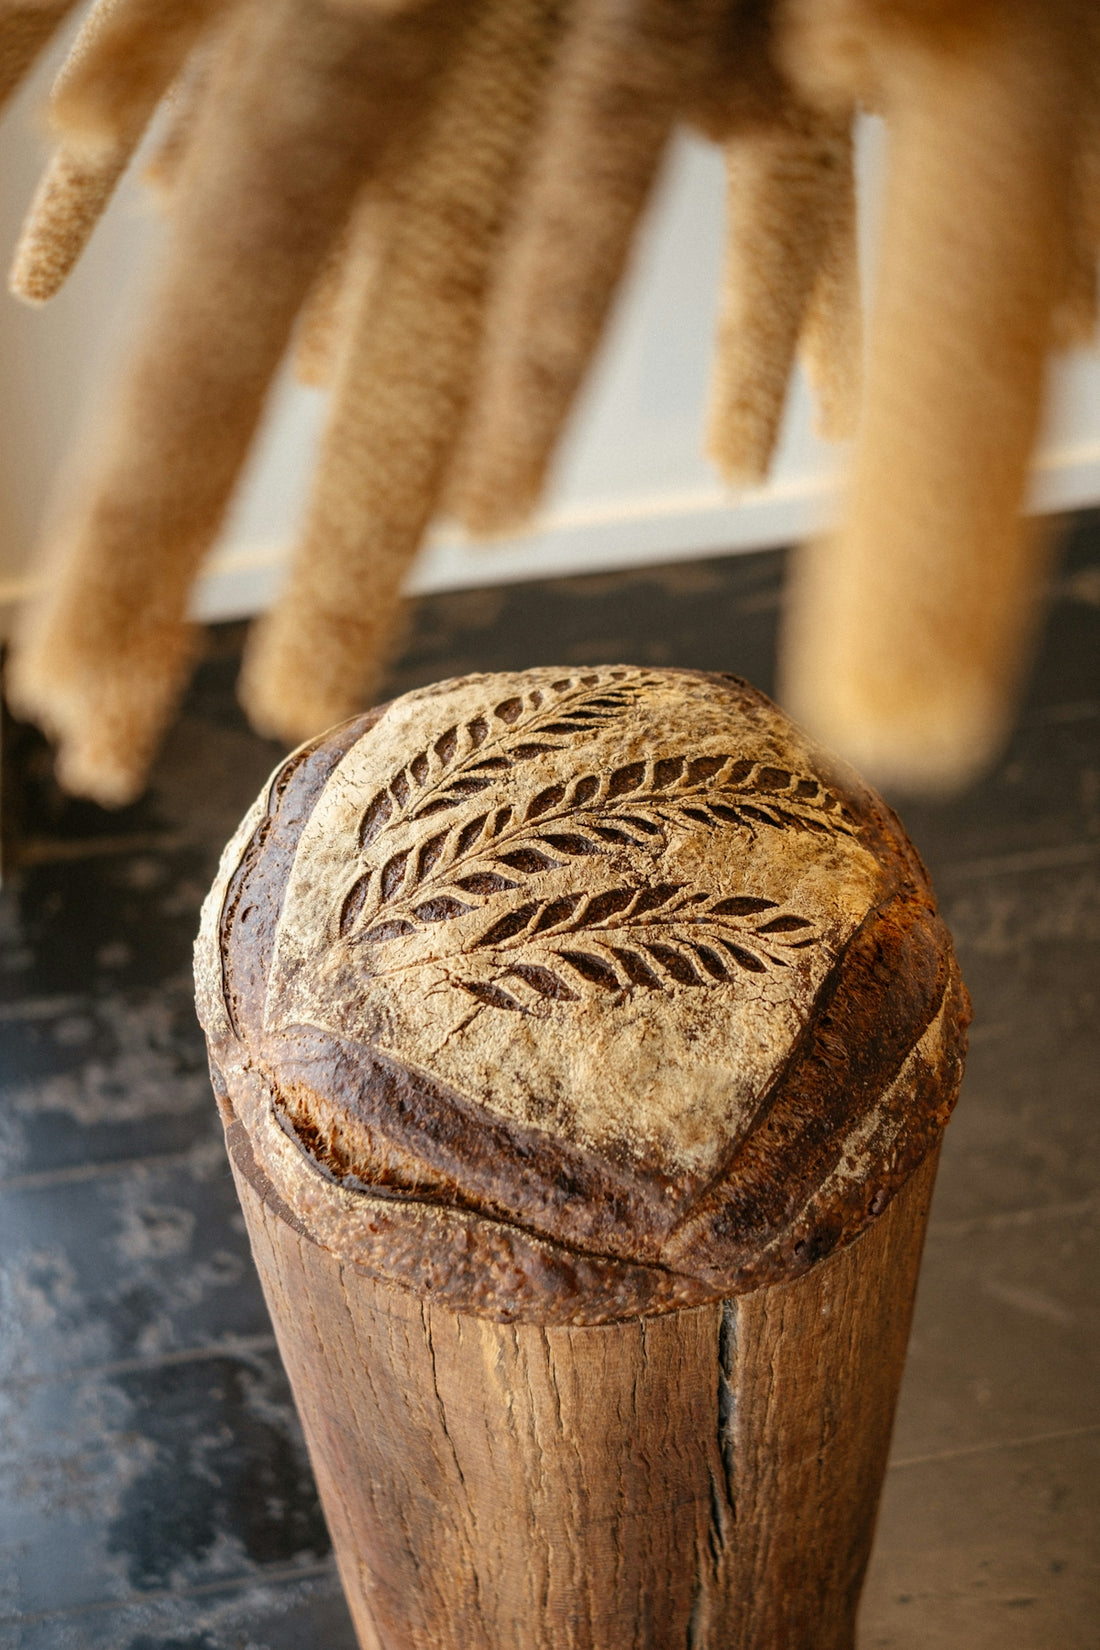
- Experiment with sourdough scoring to create beautiful patterns. The best sourdough scoring techniques can add a professional touch to your loaves.
- Always allow your bread to cool completely before slicing to set the structure.
Embracing the Art of Fermentation
Sourdough fermentation is a delicate balance of time, temperature, and technique. It involves wild yeast fermentation, which not only leavens the bread but also enhances the flavor and digestibility, making sourdough a better option for diabetics.
Sourdough Starter vs. Yeast
Unlike commercial yeast, sourdough starters bring complexity and subtlety to bread flavor profiles through wild yeast fermentation. Plus, it’s more resilient and able to develop unique flavors over time. Understanding this difference helps in troubleshooting your sourdough baking ventures.
Sourdough for Diabetics
The fermentation process can help break down some carbohydrates, potentially making sourdough a more glycemic-friendly option. However, always consult a healthcare provider for individual dietary advice.
Troubleshooting Your Sourdough Journey
Like any art, sourdough baking can sometimes be challenging. Here are common issues and how to troubleshoot them:
- Flat Dough: This could indicate poor fermentation or an inactive starter. Try adjusting the fermentation time or feed your starter more frequently.
- Dense Bread: Often due to insufficient proofing. Allow enough time for the dough to gain volume.
- Excessively Sour Flavor: This might be due to over-fermentation or an unbalanced feeding schedule. Adjust both to find the right taste.
Conclusion: My Sourdough Life
Embarking on a sourdough journey is more than just baking. It’s a lifestyle that combines tradition, patience, and artistry. With practice and dedication, anyone can master the art of artisan bread baking.
Explore more tools and products to elevate your sourdough experience here.
Happy baking!
This post was lovingly crafted for sourdough enthusiasts ready to take their skills to the next level. Whether you’re looking for crafting your first starter or perfecting that perfect loaf, we hope this guide provides value and inspiration. Let's bake some sourdough magic!