Easy Sourdough Bread: Foolproof Steps to Your First Loaf
Creating your first loaf of sourdough bread can be an incredibly rewarding experience. The transformation of a few basic ingredients into a beautiful, artisanal loaf is pure magic. With the right techniques and understanding, anyone can delve into the world of sourdough baking. Let’s explore a foolproof guide to achieving your perfect loaf, while demystifying terms like sourdough starter and wild yeast fermentation.
By the end of this blog post, you will be well-equipped with the knowledge and tools necessary to bake a stunning loaf of sourdough bread. Whether you're intrigued by learning the sourdough starter feeding schedule, or pondering over how to shape sourdough bread, you've come to the right place.
For all your sourdough baking needs, including tools and ingredients, Italian Sourdough is your go-to site for resources.
Understanding Sourdough Starter vs. Yeast
Before initiating the journey into sourdough, it's pivotal to understand what differentiates sourdough starter from commercial yeast. Sourdough starter is a living culture of wild yeast and bacteria. Unlike commercial yeast, which acts quickly, a sourdough starter requires time for fermentation, introducing a distinct tangy flavor and a complex texture in bread.
How to Feed Sourdough Starter and Maintain It
A well-maintained starter is a cornerstone for successful sourdough bread. Feeding your starter involves removing a portion of it and adding equal parts flour and water.
Steps for feeding your sourdough starter:
- Remove and Discard: Take out half of your starter.
- Add Flour and Water: Mix 1 cup of all-purpose flour and ½ cup of water into the remaining starter.
- Stir: Mix until smooth and transfer back to the jar.
Maintaining a regular sourdough starter feeding schedule is essential. It ensures that the starter remains healthy, bubbly, and active—key to consistent sourdough fermentation.
How to Store Sourdough Starter
If you're not baking frequently, store your starter in the refrigerator. Feed it, leave it at room temperature for a few hours until bubbly, then refrigerate. To revive, bring it to room temperature and feed it daily until it's active again.
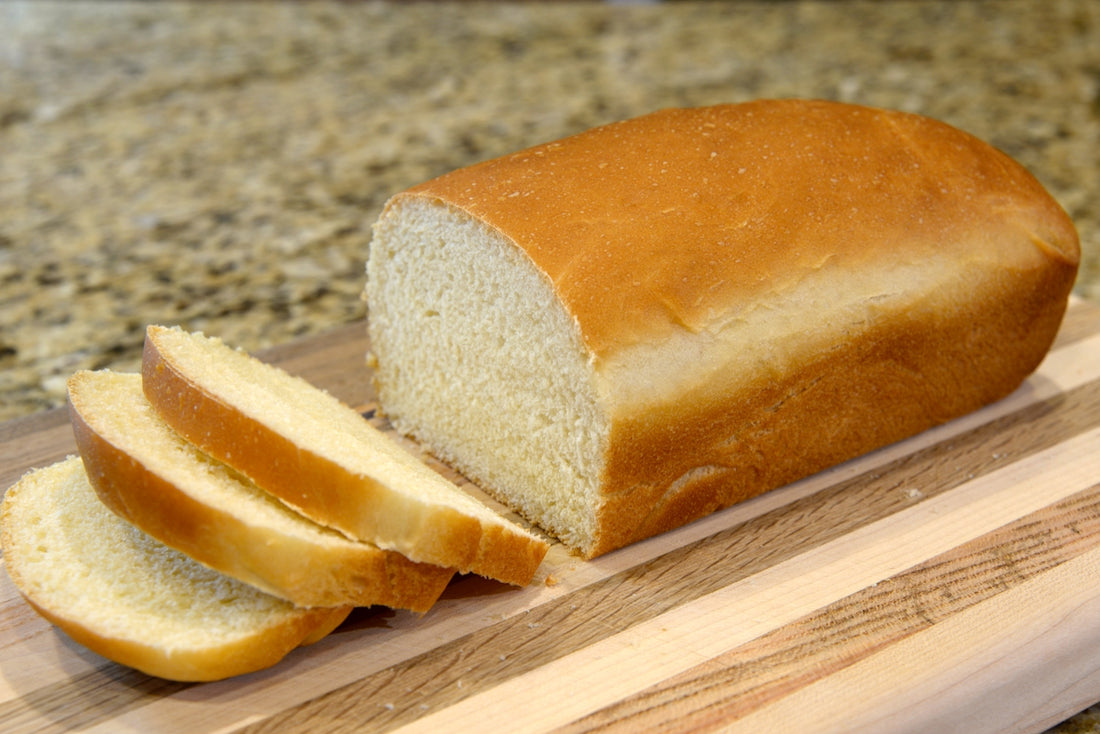
Homemade Sourdough Bread: The Recipe
Making sourdough at home need not be complex. The following sourdough bread recipe is easy to follow and is perfect for beginners.
Basic Sourdough Bread Recipe Ingredients
- 1 cup of active sourdough starter
- 1 ½ cups of water
- 4 cups of all-purpose or bread flour
- 2 teaspoons of salt
Method for This Easy Sourdough Bread
- Mix the Dough: In a large bowl, mix the starter, water, and flour. Cover and let it rest for 30 minutes.
- Add Salt: Sprinkle the salt over the dough and fold it in. Knead until fully incorporated.
- Bulk Fermentation: Cover and allow the dough to ferment for 4-5 hours at room temperature, folding it every 30 minutes.
- Shaping the Dough: Turn the dough out onto a floured surface and shape it into a round or oval.
- Final Proofing: Place the dough in a fermentation basket for a final proof.
- Preheat Oven with Dutch Oven: Use a Dutch oven like the Martha Stewart 4Qt Heart-Shaped Enameled Cast Iron Dutch Oven – Pink. Preheat it to 450°F.
- Score and Bake: Score the bread with your desired design. Carefully place it in the hot Dutch oven and bake covered for 20 minutes. Remove the lid and continue baking for another 25-30 minutes.
Best Sourdough Scoring Techniques
Scoring sourdough is not just about aesthetics but also about the bread baking evenly. Use a sharp blade to make quick, decisive cuts. Some popular designs include the simple line, the leaf, and ear design.
Recommended Product:
The Nonna Bella 2 in 1 Seasoned 4.5L Cast Iron Double Dutch Oven Combo Cooker is a versatile option for sourdough enthusiasts, doubling as a proofing vessel and a baking tool.
Sourdough Baking Tips
- Temperature Control: A warm environment helps in active fermentation. Consider using a proofing box or your oven light for warmth.
- Humidity Matters: Keep the dough moist by using a lid or a spraying bottle to keep the surface from drying out.
Sourdough for Diabetics
Sourdough bread may be considered a better choice for diabetics due to its lower glycemic index compared to regular bread. The slower digestion process results in gradual sugar release into the bloodstream.
Sourdough Starter Troubleshooting
Having issues with your starter? Here are some common problems and solutions:
- Not Rising: Ensure your starter is warm enough to ferment. Increase feeding frequency.
- Strong Odor: Your starter may be underfed. Discard more and feed.
How to Shape Sourdough Bread
Whether you’re making a round boule or an oval batard, shaping sourdough requires understanding how to create surface tension in the dough.
Steps:
- Use a Bench Knife: Tug and fold the dough into a tight shape.
- Dust the Surface: Lightly flour to avoid stickiness, but use minimal flour for optimal surface tension.
Recommended Product:
Enhance proofing with the Oval/Round Bread Rattan Fermentation Basket, ensuring your dough maintains its shape.
Sourdough Bread Troubleshooting
A few common issues with sourdough bread include:
- Dense Bread: May be due to insufficient fermentation or premature baking. Ensure full proofing and oven heat stability.
- Flat Loaf: Could result from over-proofing or too much hydration.
In conclusion, sourdough baking is an art that combines science, patience, and intuition. With practice and the right tools, like those available at Italian Sourdough, you’ll be on your way to crafting delectable homemade sourdough loaves, an essential in My sourdough life.
Happy baking!