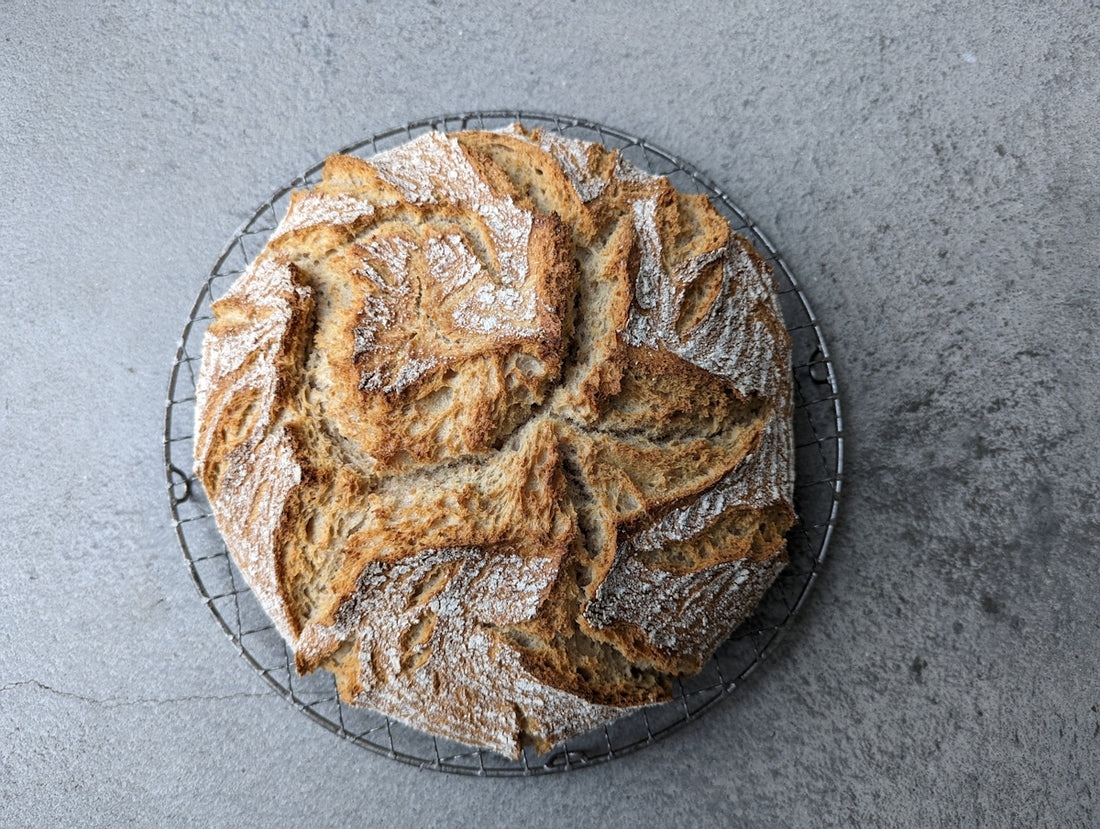
Easy Homemade Sourdough Bread Recipe: Beginners Rejoice with Simple Steps
Welcome to the transformative journey of cultivating your own sourdough bread. Whether you are a novice or a seasoned home-baker yearning for the quintessential homemade sourdough experience, this guide will streamline your adventure into the classic art with straightforward advice and handy tips.
The Charm of Sourdough Bread
Sourdough bread has captivated enthusiasts around the globe, not only for its delightful crust and fragrant crumb but also for its health benefits. Unlike conventional yeast-leavened bread, sourdough employs the power of wild yeast fermentation, yielding a loaf that some claim is easier to digest and more suitable for those with glycemic concerns. Yes, sourdough for diabetics might be a viable choice depending on individual health factors, owing to its lower glycemic index compared to breads made with commercial yeast.
Understanding the Sourdough Starter
The heart of any great sourdough bread recipe is the sourdough starter. This living mixture of flour and water is home to a community of wild yeasts and beneficial bacteria, essential for sourdough fermentation. Understanding how to nurture your starter will fundamentally affect the outcome of your bread.
How to Feed Sourdough Starter
Feeding—or refreshing—your starter is the process of providing it with fresh flour and water to maintain its vitality. To start, you'll want to mix equal amounts by weight of flour and water to a portion of your starter. For instance, combine 100g of each with a portion of your existing starter.
Sourdough Starter Feeding Schedule
Consistency is key. Your sourdough starter feeding schedule can vary, but a typical routine involves daily feeding if kept at room temperature. If you refrigerate the starter, weekly feedings are usually sufficient. Refrigerator storage slows down fermentation and reduces feeding frequency—find further tips on how to store sourdough starter.
Sourdough Starter Troubleshooting
Should your starter exhibit sluggish behavior or a faint aroma, it might need extra care. This can often be resolved by adjusting feeding frequency or the temperature at which it is kept. Remember, patience and observation are your best allies in sourdough starter troubleshooting.
Crafting Your First Loaf – Easy Sourdough Bread
Ingredients:
- Sourdough Starter: 50g, active and bubbly
- Water: 350g, lukewarm
- Bread Flour: 500g
- Salt: 10g
Equipment:
- Nonna Bella Carbon Steel Bread & Loaf Pans: Ideal for consistent bakers, these pans promise even baking and easy release. Buy here
- Silicone Baking Mat Kneading Pad Dough Mat: A versatile mat to keep your workspace mess-free. Buy here
Steps to Success
- Mix the Dough: In a large bowl, combine your sourdough starter and lukewarm water, stirring until the starter is dissolved. Add the bread flour and salt, mixing until no dry bits remain. Cover with a damp cloth and let it rest for about 30 minutes.
- First Rise: Perform the first rise, also known as bulk fermentation, for 4-5 hours or until it has doubled in size. In this time, stretch and fold the dough every 30 minutes to develop gluten structure, turning it into a supple dough.
- Shape the Dough: Once the bulk fermentation is complete, transfer the dough to a lightly floured surface, using a Silicone Baking Mat for convenience. Shape your dough by folding it onto itself to form a tight ball.
- Final Proof: Place the dough seam-side up in a well-floured proofing basket or loaf pan, and let it proof at room temperature for 2-3 hours, or until puffy but not over-proofed.
- Preheat and Bake: Preheat your oven to 450°F (230°C). Score the surface of your dough with a sharp blade—one of the best sourdough scoring techniques is the classic shallow slash, which allows for controlled expansion. Bake the dough for 20 minutes covered, then uncover for an additional 25 minutes or until deep golden brown.
- Cool: Once baked, let the bread cool completely on a wire rack to allow the crumb to set.
Sourdough Baking Tips
To elevate your artisan bread baking experience:
- Use a Reusable Silicone Bread Sling to transfer dough seamlessly into and out of Dutch ovens.
- Experiment with variations—add seeds or grains to your dough for texture.
Sourdough Starter vs. Commercial Yeast
Unlike quick-rise commercial yeast, sourdough starter relies on natural fermentation, providing complex flavors and improved nutritional profiles. However, maintaining starter health requires time and commitment, a worthwhile exchange for those dedicated to the artisanal craft.
A Look into My Sourdough Life
Embracing a sourdough lifestyle has provided me insight into the nuances of fermentation and the joy of crafting something with your own hands. Engaging with your dough daily is a meditative practice that connects you to both tradition and innovation in the culinary arts.
Conclusion
For every beginner ready to embark on this journey, sourdough bread offers an excellent opportunity to explore and master the art of bread-making with both creativity and patience. Remember, every failed loaf is a step towards perfection; troubleshooting issues like dense crumb or flat loaves refines your technique.
Embark on your baking journey today and bring a piece of time-honored tradition into your kitchen with each loaf. For all your sourdough needs, visit Italian Sourdough and explore products that will make your sourdough journey both fulfilling and enjoyable.
Happy Baking!
