Discover the Art of Sourdough: A Guide to Wild Yeast Fermentation
Welcome to the enchanting world of sourdough, where art meets tradition in the form of heavenly aromas and exquisite textures. Sourdough bread has captured the hearts of bakers for centuries, offering a unique and flavorful alternative to conventional bread. This guide is your comprehensive introduction to wild yeast fermentation, where you'll learn the secrets of crafting the perfect homemade sourdough and delve into the art and science behind it.
The Magic of Sourdough Starter
At the heart of any great sourdough is the sourdough starter—a culture of flour and water teeming with wild yeast and beneficial bacteria. This living organism is the key to achieving that characteristic tang and airy crumb that sourdough enthusiasts adore. But how do you begin your journey with sourdough starter?
Creating Your Sourdough Starter
Starting your sourdough starter is the first step towards perfecting artisan bread baking. You'll need:
- 1 cup of whole wheat flour
- 1 cup of warm water
Mix them in a glass or plastic container, cover with a breathable cloth, and let it sit at room temperature. Over the next week, feed your starter daily with equal parts of flour and water. This process boosts the growth of wild yeast fermentation.
For a more systematic approach, you may want to consider the Lame Bread Proofing Basket Kit, which includes everything from a thermometer to dough scrapers, ensuring precision in your sourdough creation.
How to Feed Your Sourdough Starter
Feeding your sourdough starter mirrors the simplicity of nature itself. Firstly, discard half of your starter (about 1/2 cup) and then feed it with 1/2 cup of flour and 1/2 cup of water. This should ideally happen every 12 hours to maintain an active and lively culture.
Adhering to a regular sourdough starter feeding schedule is essential for maintaining its health and vitality. Once established, your starter will reward you with a harmonious blend of flavor and texture in your sourdough creations.
Storing Your Sourdough Starter
Perhaps you aren't planning to bake for a while? Learning how to store sourdough starter is crucial. If you wish to take a break, simply refrigerate your starter. This slows down its metabolism, meaning feeding is only necessary on a weekly basis. Perfect if you're managing 'My Sourdough Life' amid other commitments!
For optimal storage, consider using a specialized jar like the one included in the 1set Professional Baking Tools. The airtight design ensures freshness.
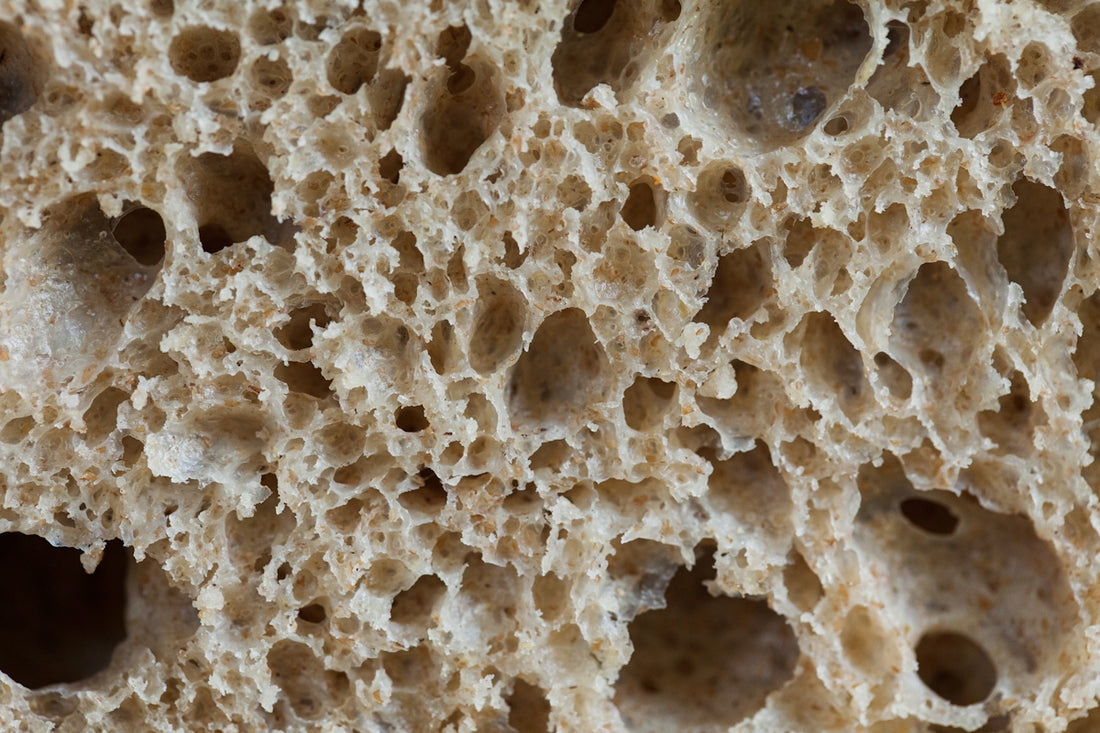
Baking the Perfect Sourdough Bread
Now that your starter is active and raring to go, it's time to move onto the ultimate goal: crafting a loaf of easy sourdough bread. Here's a simple sourdough bread recipe to get you started:
Ingredients
- 1 cup sourdough starter
- 1 1/2 cups warm water
- 4 cups all-purpose flour
- 2 teaspoons salt
Method
- Mix: In a large bowl, combine the sourdough starter, water, and flour. Let the mixture sit for 30 minutes allowing it to autolyse.
- Knead: Add salt to the mixture and knead for about 10 minutes until smooth.
- First Rise: Cover with a damp cloth and let it rise for about 4 hours or until doubled in size.
- Shape: Gently deflate the dough and shape it into your desired loaf. For guidance on dough handling, our Lame Bread Proofing Basket Kit is indispensable.
- Second Rise: Place in a proofing basket and allow it to rise for another 2-3 hours.
- Score: Before baking, employ the best sourdough scoring techniques to aid in the even spread of heat. A baking lame can be of great help here.
- Bake: Use a preheated oven at 450°F. Baking in a Martha Stewart 4Qt Heart-Shaped Enameled Cast Iron Dutch Oven can enhance the crust, thanks to its superior heat retention.
Best Practices and Troubleshooting
Sourdough bread troubleshooting is part of the learning curve. If your bread is too dense or doesn't rise as expected, consider adjusting your fermentation time or checking the starter's activity. Also, incorporating artisan tips like ensuring consistent dough temperature can resolve many common issues.
Sourdough Baking Tips for Success
- Hydration Is Key: Adjust water content if your dough seems too dry or wet.
- Temperature Control: Always keep an eye on room and dough temperatures, as these impact fermentation.
- Trial & Error: Don’t be afraid to experiment! Each batch is a lesson.
Sourdough Starter vs. Commercial Yeast
One of the frequent debates in the realm of bread-making is sourdough starter vs. yeast. While commercial yeast offers convenience and speed, sourdough brings depth, health benefits, and character. Sourdough's rich fermentation process has been linked to benefits for diabetics, thanks to its ability to regulate blood sugar spikes.
Final Thoughts
Embarking on this journey of sourdough baking intertwines patience with creativity. While it may seem daunting initially, mastering wild yeast fermentation offers rewards far beyond just bread on the table; it connects you to age-old traditions and adds a personal touch to your baking.
To further this passion, explore our site Italian Sourdough for premium tools and resources tailored for every stage of your sourdough adventure. Whether it's the right tools like the Nonna’s Wooden Pizza Board or additional guides and kits, we’re here to elevate your sourdough experience.
Happy baking!